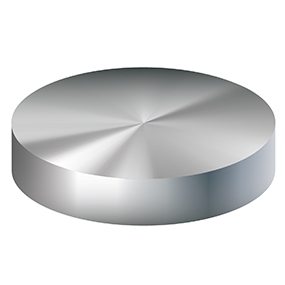
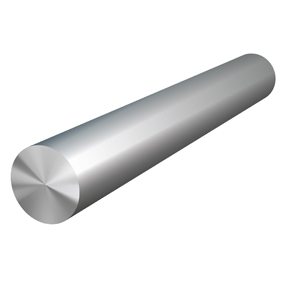
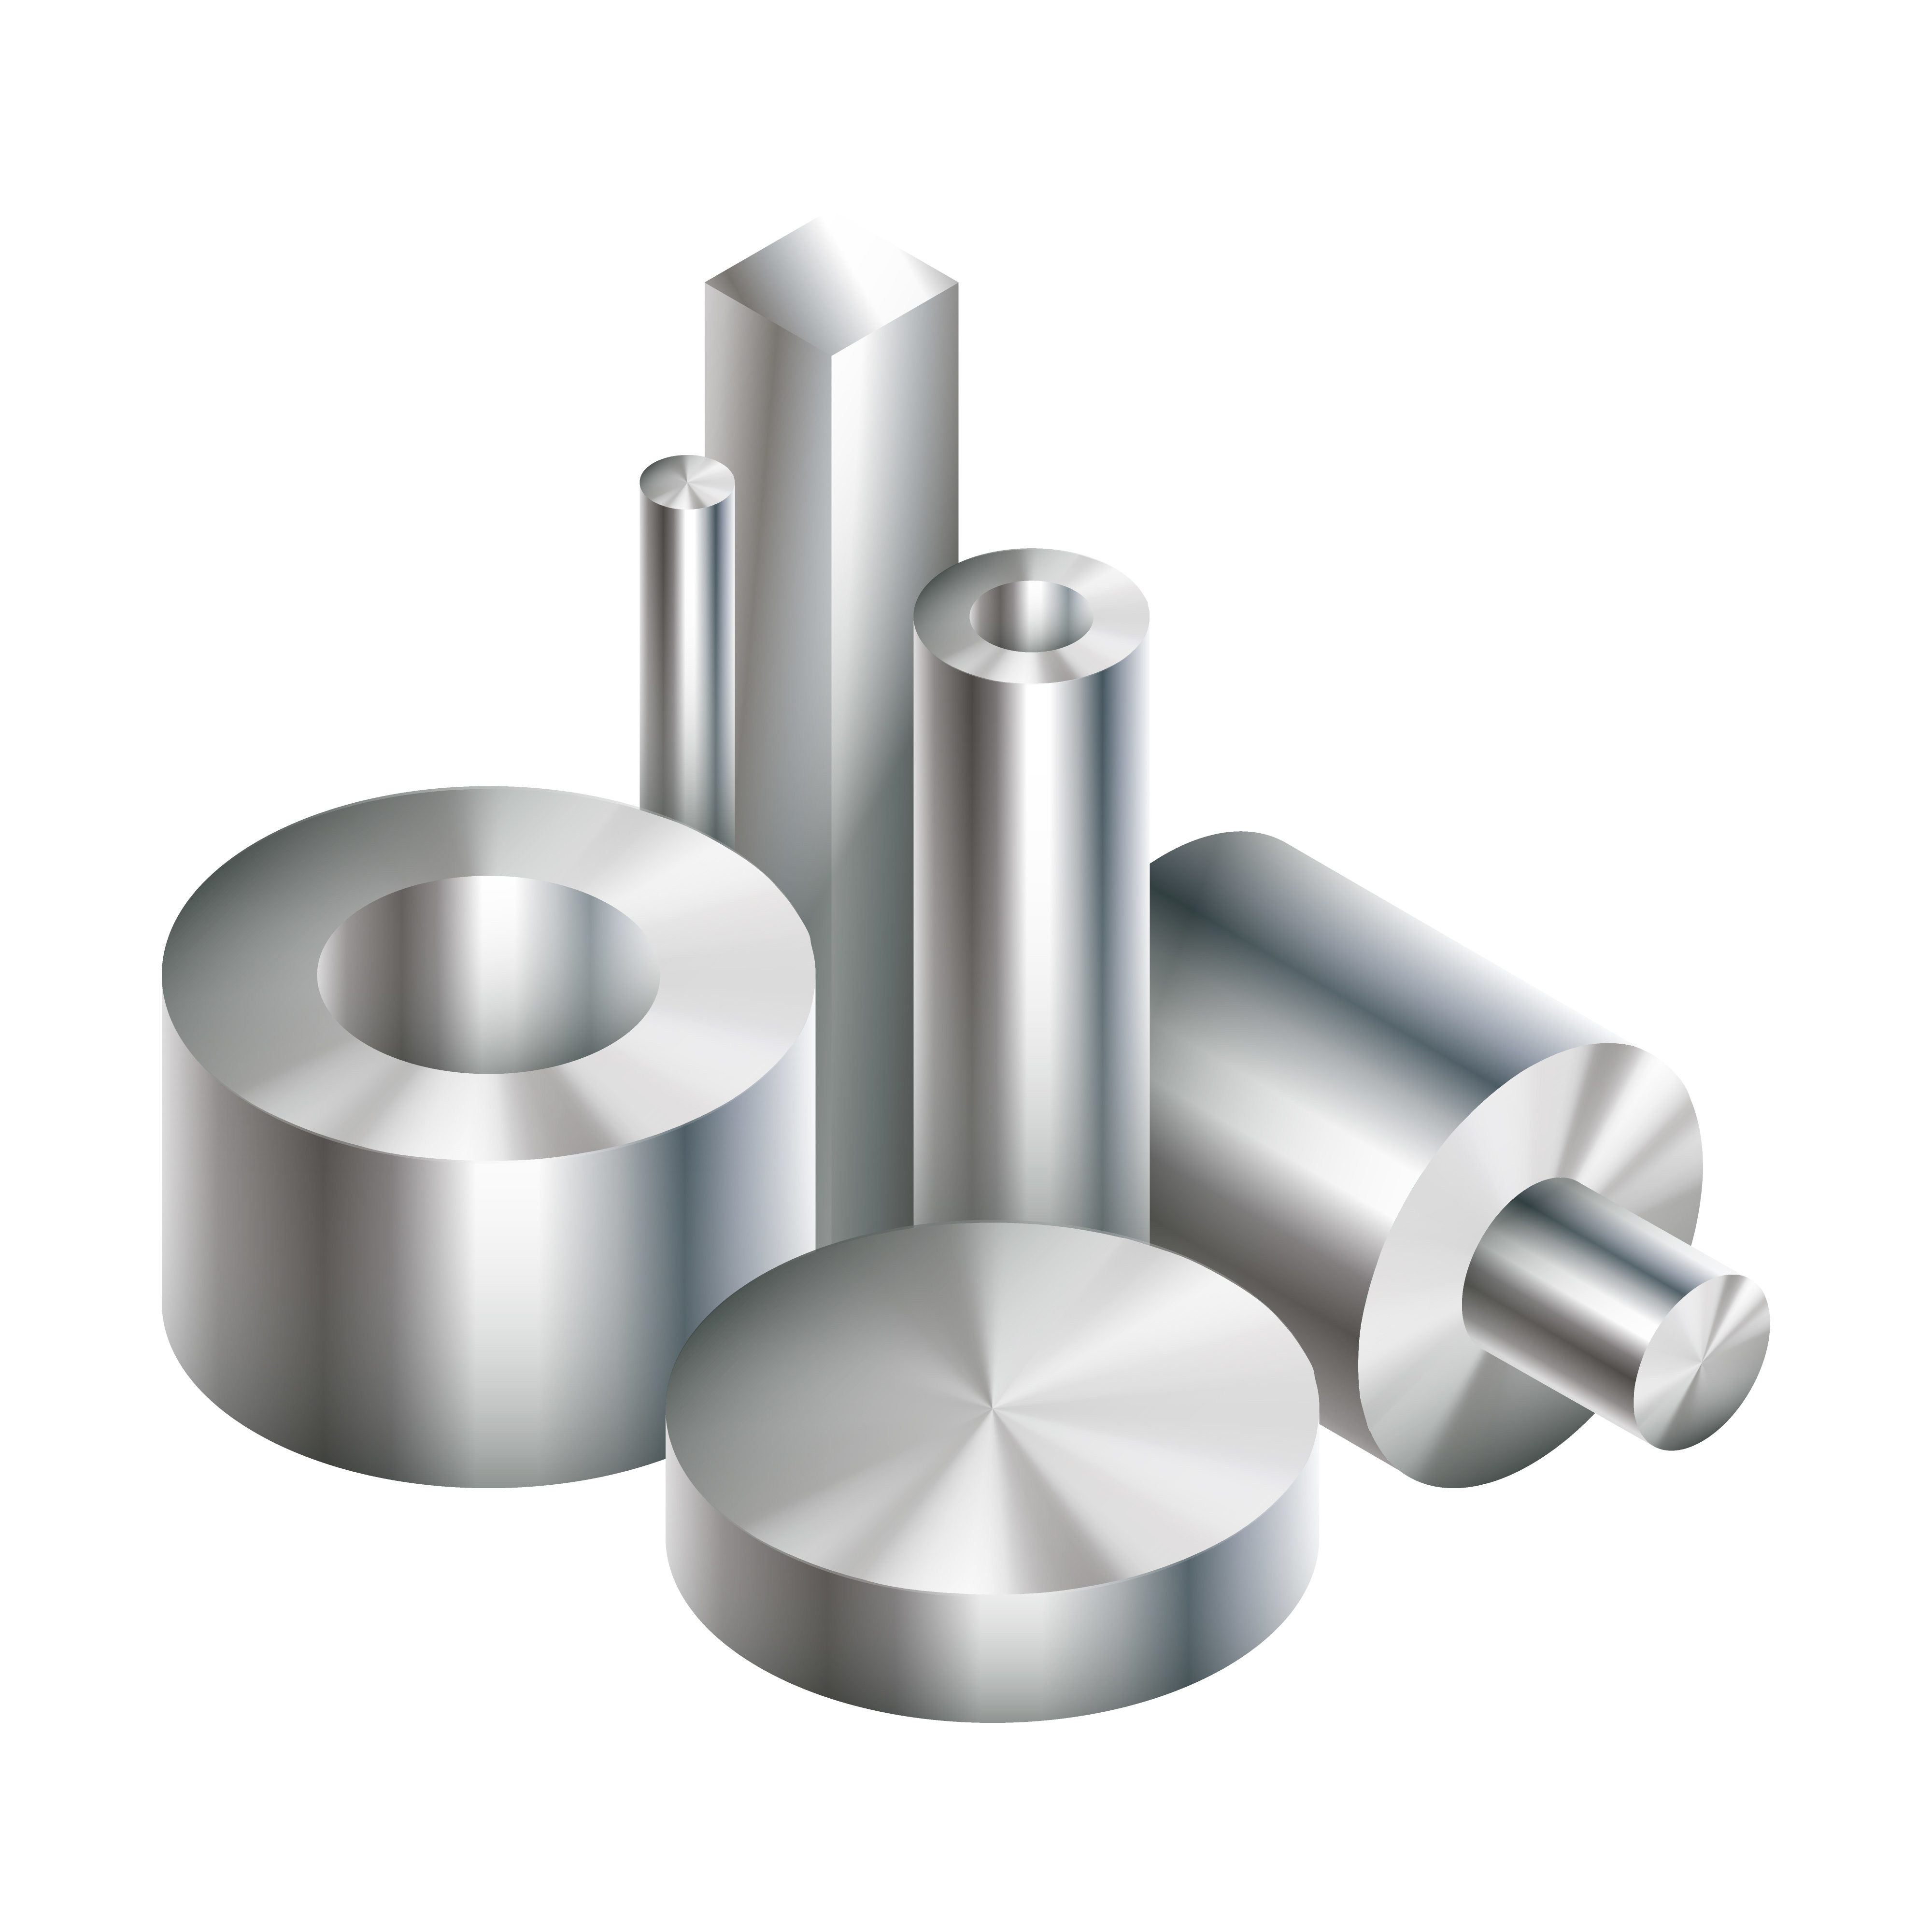
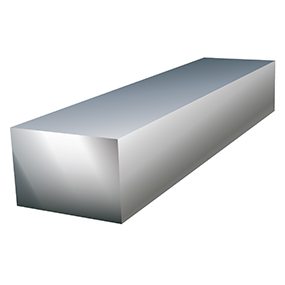
2017 China New Design Stainless Steel to Jeddah Manufacturers
Short Description:
2017 China New Design Stainless Steel to Jeddah Manufacturers Detail:
Product detail pictures:
2017 China New Design Stainless Steel to Jeddah Manufacturers, The product will supply to all over the world, such as: , , ,
The Raptor 5″ Oval Nerf Bars
https://www.realtruck.com/raptor-5-oval-nerf-bars/
The Raptor 5″ Oval Nerf Bars are a bold complement to your full-size pickup, install easily with no drilling required. Sold in Pairs!
Comes with a Limited Lifetime on Stainless Steel, 10 year warranty on Black finish.
Stay Informed and Sign Up:
https://www.realtruck.com/newsletter-signup/
Subscribe to our Channel: https://www.youtube.com/user/RealTruckCom
Follow us on Facebook: https://www.realtruck.com/facebook/?ut…
Follow us on Twitter: https://www.realtruck.com/twitter/?utm…
Follow us on Google+: https://www.realtruck.com/gplus/?utm_c…
FREE SHIPPING
Give us a call at 866-262-3738
Video Transcription:
Hey guys, John here with realtruck.com. Today we’re going to be installing the Raptor 5″ Oval Nerf Bars onto a Ram Mega Cab truck. We’ve got our 5″ Raptor Oval Nerf Bars, these happen to be in a wheel-to-wheel length. They’re also available in a cab length version. Ours are black. You can also get these in a stainless steel that come complete with all the mounting brackets hardware you need to get them on your truck. So let’s get started. We got everything all set up here guys. So the first thing we got to do is we got to remove our body mount bolts, and we’re going to take this very front one out. And now we’re going to take that very back one out, so that we can put our brackets in here for our new Raptor boards.
Now that we’ve got our bolts out, we can go ahead and put our brackets on. What we’re going to do is we’re going to use our bolts that we have here, with a washer and a lock washer on them. But we also have this rubber washer that we’re going to want to put in place up here, on the back side of our brackets so that way our brackets don’t squeak up against our bushings. Now that we’ve got our old bolts out, we can go ahead and mount up our brackets to hold our Nerf bars on. What we’re going to do is we’re going to go ahead and set up our bolt. We’re going to use the longer of the two bolts for the back. We have a lock washer, a flat washer and then the rubber washer. And what that rubber washer will do, is it will keep this from squeaking up in here, and all in all driving you crazy listening to it squeak. And when we put these up here, we’re just going to snag them a little bit down, and leave them loose.
Now guys, we’re in the back of the vehicle on the driver’s side. So what we’re going to do is we’re going to go ahead and peel this tape up here. You can just dis-guard this tape once you peel it off there, and now we’re going to take our t-bolt, and we’re going to slide it inside that slot that we found underneath that tape. This part can get a little tricky because if you drop this, fun times are abounding. Take your square plastic washer. We’re going to press that on over the bolt, because that will hold that in place so that it doesn’t fall down inside the body. Once we have that in place, we go ahead and grab our rear bracket and attach that.
Now that we’ve got our t-bolt in place, we can go ahead and install our support bracket. But what we want to make sure is that we’ve got this [detemp] part over here facing towards the front of the truck. This bracket is the shorter of the two brackets. The longer one goes in the front. We’re going to put it up on there, and put our washer and our lock washer on. Then we’ll put our knot down there. Now once again, everything we’re doing here we want to leave this stuff all loose until we have everything attached. Go ahead and attack our bolt to the bottom. Then we’ll go up to the front and attach our bracket brace to the front. Now that we’ve got the back bracket on, we’ll go ahead and put our front one on. We’ll peel this piece of tape off here. And we’ll insert our t-bolt. Now a little trick for you guys. If you go ahead and start this square washer on there, it makes it a little bit easier to deal with. Gives you some place to hold on to while you push it down in there to secure it.
Once that’s up there, then we’ll take our bracket. We’ll put our bracket on. Flat washer and lock washer and our nut. Once again leaving everything loose so we can move it around. I haven’t put the bottom one in.
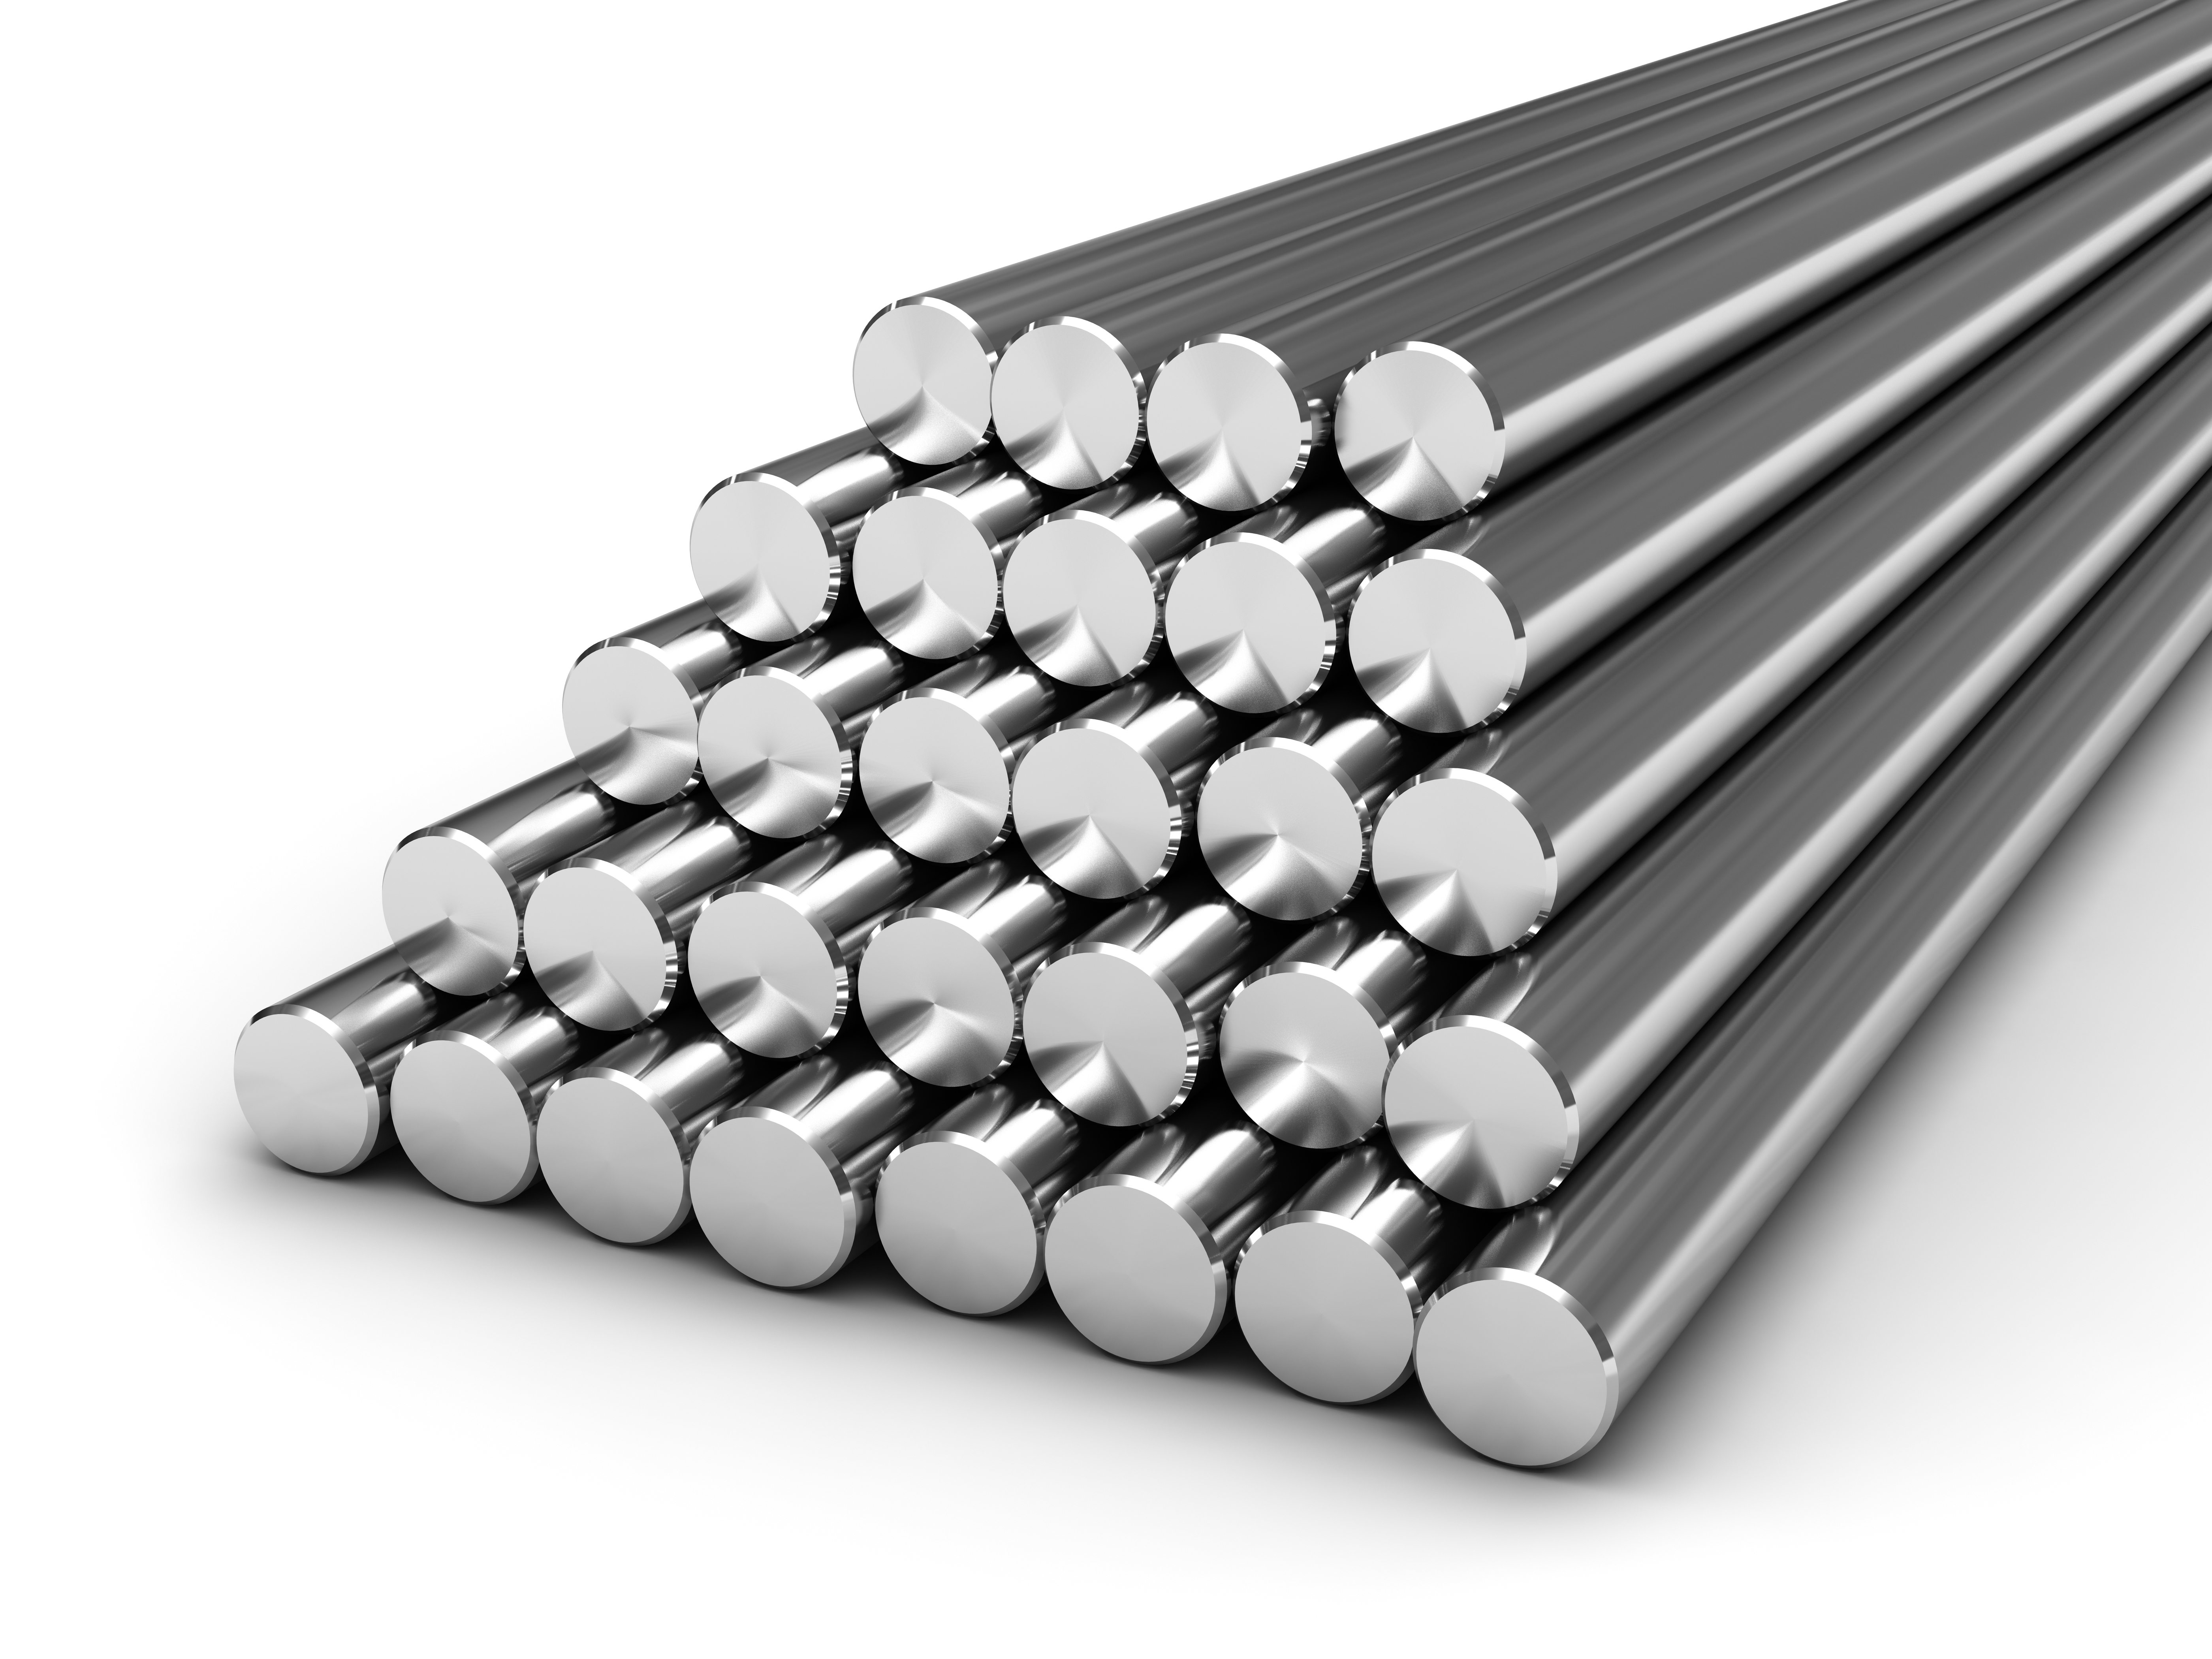
Our well-equipped bar mill has dedicated planishing, cutting, heat treating, straightening, machining and testing equipment to ensure consistent high quality and fast turnaround times. our unique Tartan Bars® are manufactured through a combination of the forging and planishing process, resulting in bars with a forged sound center, rolled bar surface quality and extremely tight dimensional tolerances.