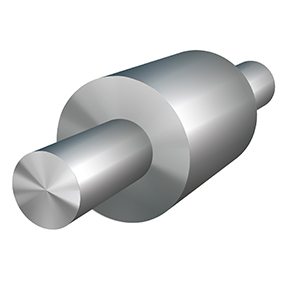
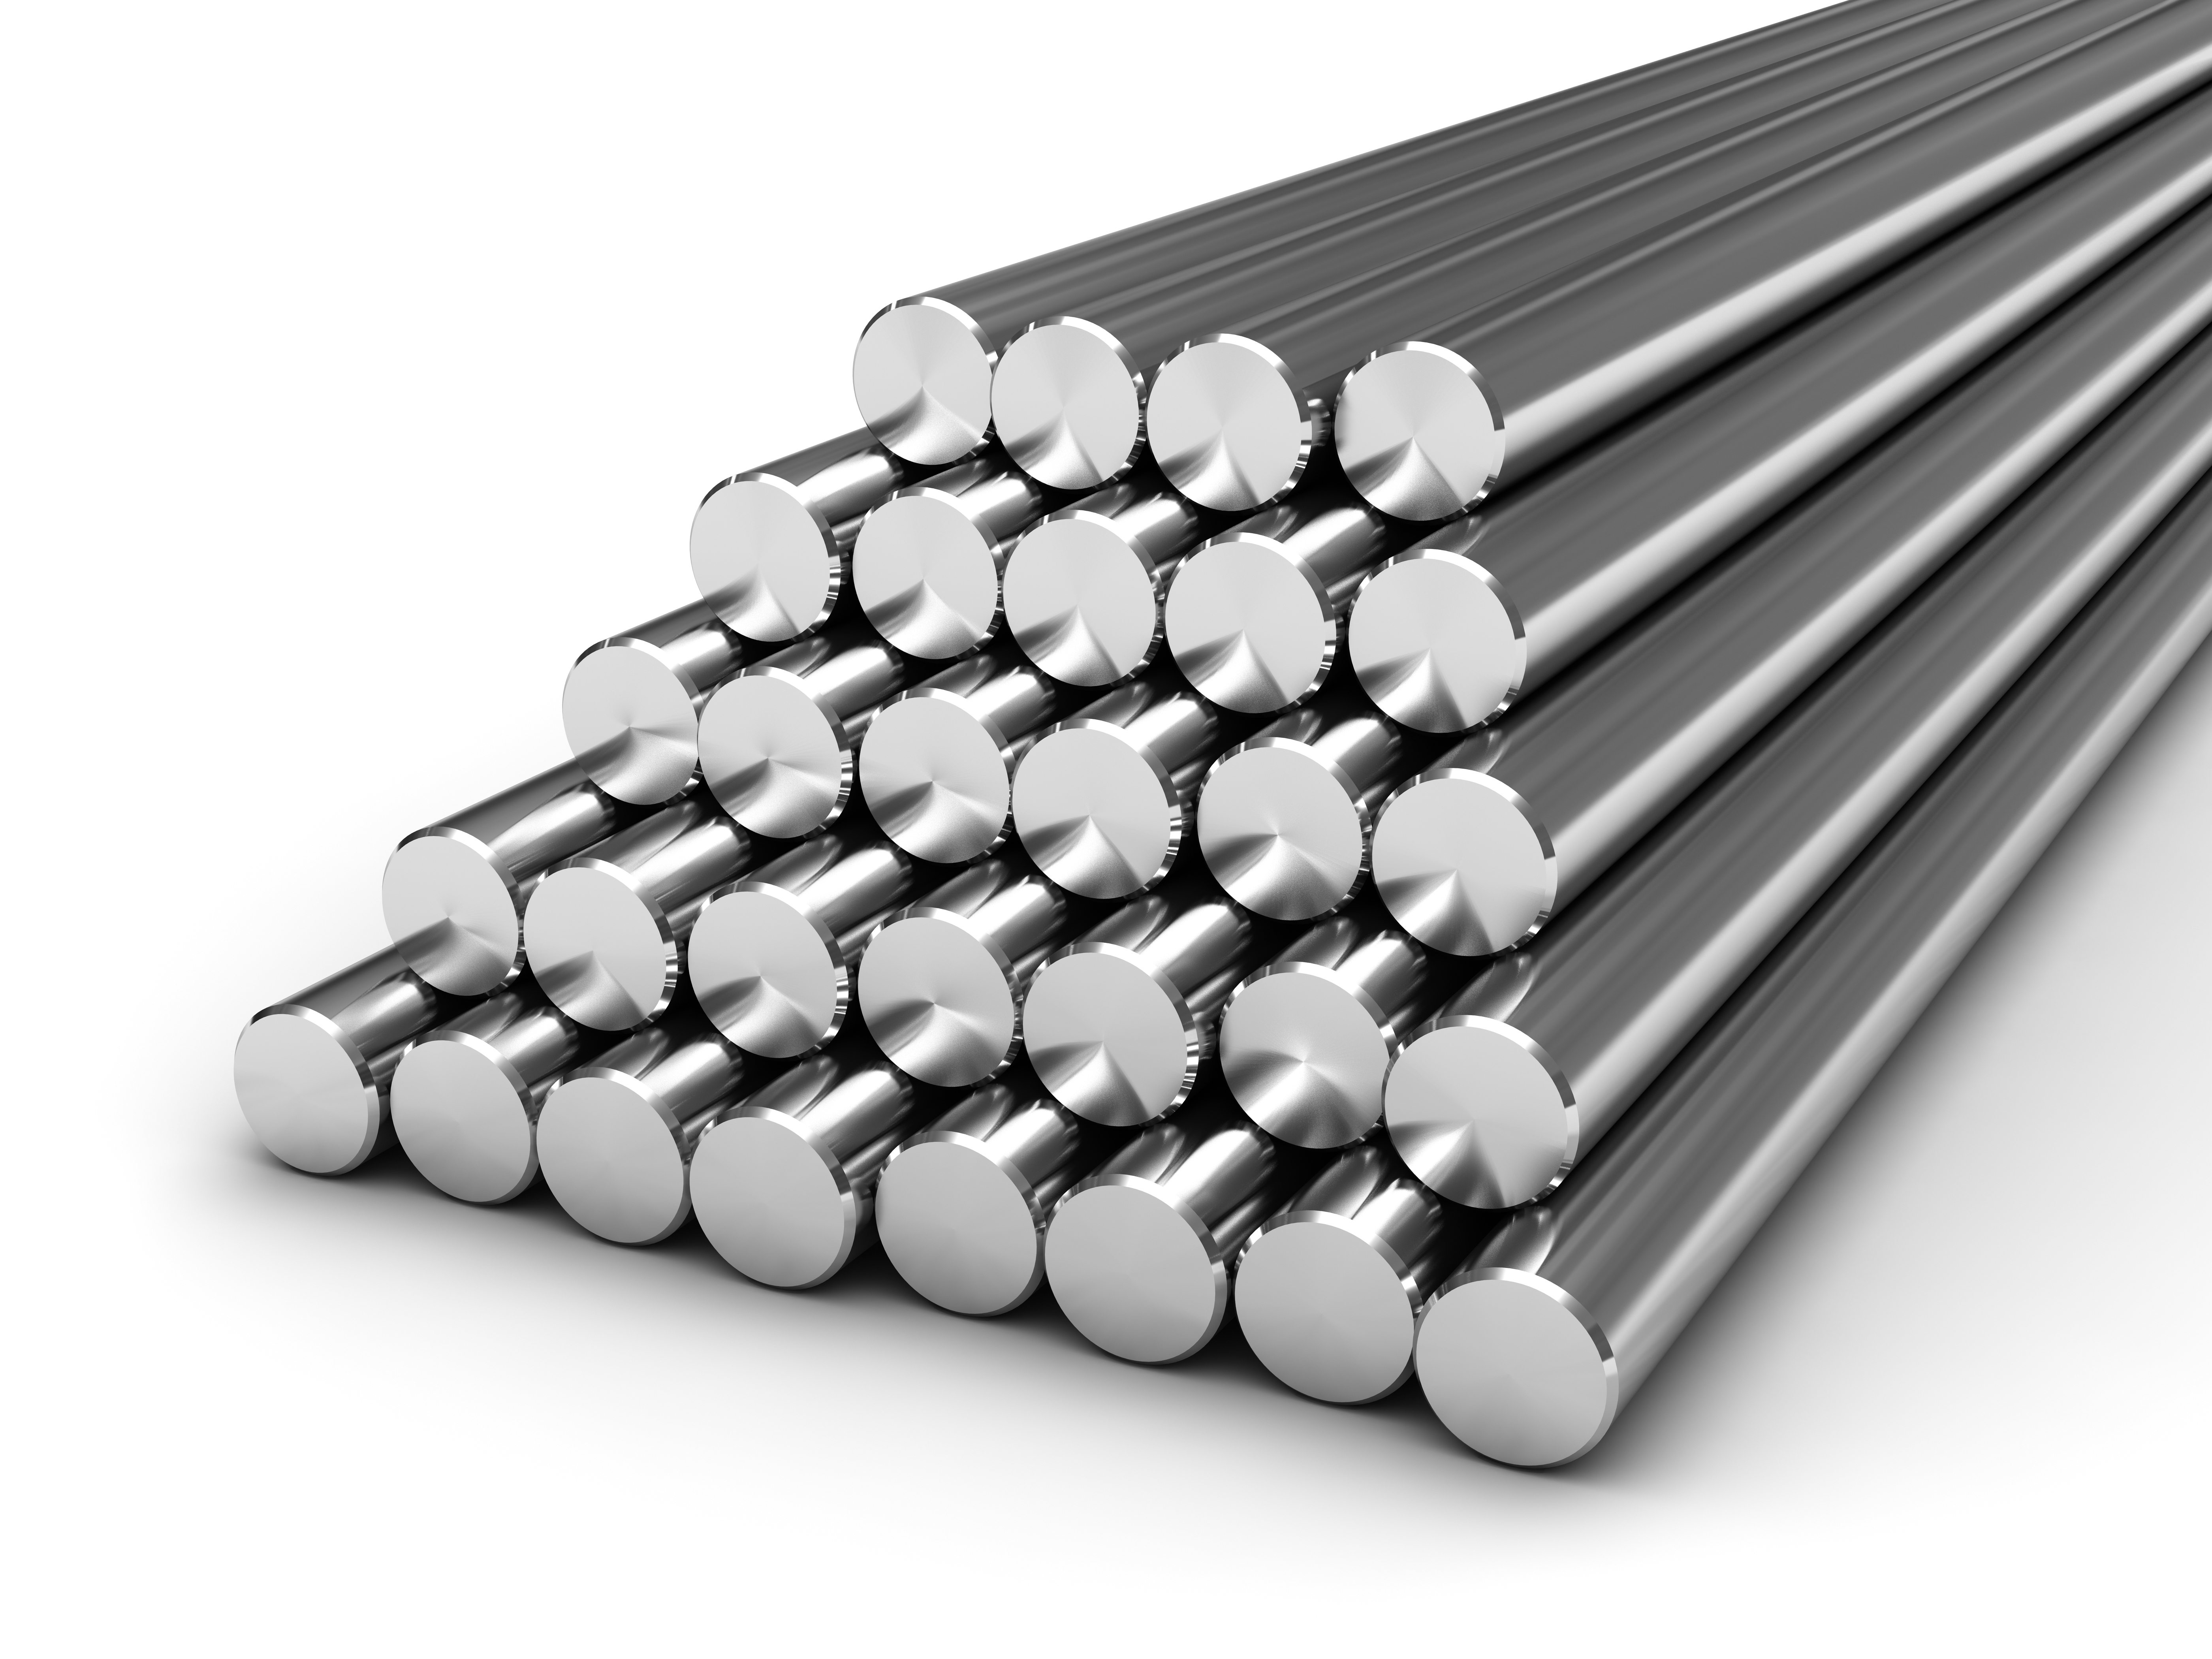
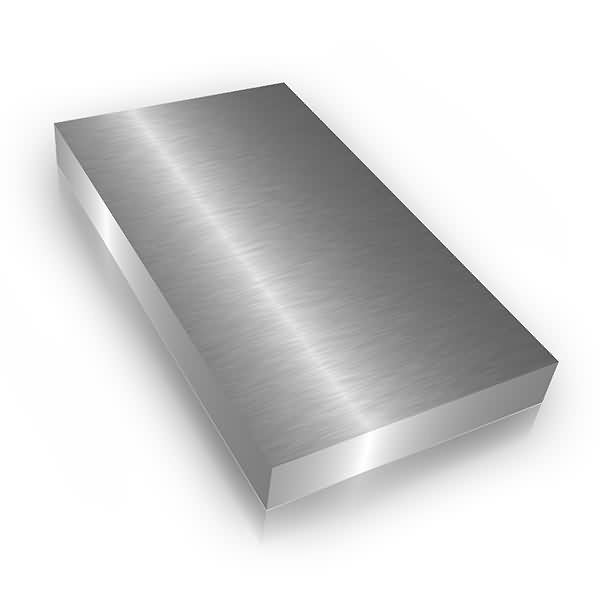
China Factory for SQUARE BAR for Angola Factory
Short Description:
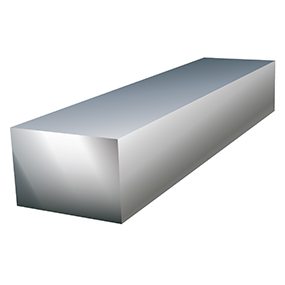
Length up to 16,000 mm Size from 140 mm to 460 mm
China Factory for SQUARE BAR for Angola Factory Detail:
| Length | up to 16,000 mm |
|---|
| Size | from 140 mm to 460 mm |
|---|
Product detail pictures:
China Factory for SQUARE BAR for Angola Factory, The product will supply to all over the world, such as: , , ,
Plans: https://www.4diyers.com/resources/metalwork/grilllightbar.php
Basic rust repair: https://www.youtube.com/watch?v=H44w5XvKuk0
Light bar review: https://www.youtube.com/watch?v=_nWuW8FTFK8
Video tutorial on how to fabricate a hidden grill mount for a light bar. This is a great project for beginner welders to help perfect your metal fabricating skills. This particular light bar was designed for a Ford Ranger and will possible fit the Mazda B Series as they share the same platform. The particular light bar used in this video is a 22” 5D LED light bar made by Auxbeam. Blueprints for these light bar plans are available on my website as a pdf file which can be easily printed off. This particular vehicle I am working on is a 1998 Ford Ranger.
Website: https://4diyers.com
Patreon: https://www.patreon.com/4diyers
Facebook: https://www.facebook.com/4diyers
Google Plus: https://plus.google.com/+4DIYers
Twitter: https://twitter.com/4DIYers
Instagram: https://www.instagram.com/4diyers/
Tumblr: https://4diyers.tumblr.com
Pintrest: https://www.pinterest.com/4diyers/
Tools/Supplies Needed:
-welder
-grinder with disks
-square
-scriber
-welding equipment
-wire brush
-tape measure
-nutcerts & nutcert tool
Procedure:
-disassembling the front of the vehicle to determine where the mount can be fastened to
-material was purchased from a local steel supplier
-fabricating the radiator mount first, mark out the rough dimensions with the paint marker, then mark the exact dimension with a scriber and square
-using an angle grinder with cutting disk, cut the material to size
-it’s best to use a cut off saw for squareness, but not everyone has one
-considering this is a thicker material, edges will need to be chamfers to help with welding penetration and reduce heat distortion
-clean up welded areas to remove any surface impurities which may affect the welding process
-for this I am using a flux core mig welder
-if you have a surface to clamp down the parts you are welding, that does make it much easier so the parts don’t move or distort when welding
-use a chipping hammer and wire brush to remove the slag and clean the area
-a full weld can be applied to each
-now the welds can be cleaned up, removing the slag
-if you find a spot where the weld maybe a little high, a grinding disk or flap wheel can be used to knock off the high spots
-for the radiator mount install, I used clamps to hold it into place, just tight enough so I can center everything up and mark out the holes to be drilled
-use common reference points which were symmetrical to the truck to keep everything as accurate as possible
-to drill the holes for the mount, I used a transfer punch first for hole layout on the top bolts. A transfer punch is a type of punch that is sized accordingly to an existing drill hole and has a center point
-all the tubing was cut to size, the pieces going into the grill will be slightly longer and adjusted one everything is in place
-in order to get those square cuts, I used a paint marker, installed a gear clamp on the pipe, and then follows around the edge with the scriber
-tack weld the bents in place first, you can use clamps to hold everything in place or welding magnets
-after everything is test fitted, the tubing can now be solid welded
-to smooth out those welds, use the angle grinder and flap wheel just like before
-the welded areas can be blended using a file
-assemble the light bar so we can have exact measurements
-cut it to size and square it up if need be
-drill the holes for the light bar mounting and I am also drilling three other holes for plug welds
-welded areas as needed
-square up the tubing which mounts to the radiator support
-for fastening pointed, I have welded in nuts to the tubing
-wipe the pieces down with a wax and grease remover so there will be no contaminants when sanding
-use abrasive pads and then finished up with 220 grit sandpaper before the primer stage
-give the pieces another wipe down using a wax and grease remover
-a high filler primer can be used to hide any surface imperfections
-pick a color and finish of your choice
-once the paint has dried, the bracket can now be installed on the truck
-use fasteners with flat washer and medium grade threadlocker
-the plastic diffuser will need to be noticed out, so put that into place, mark out the openings, and use a hot knife to cut the areas
-once everything fits correctly, clean up those cuts with a file
-snap the diffuser back into place and then reinstall the grill
-now install the light bar bracket to the radiator mount
Thank you to all those who watch my videos and support my content. Don’t forget to subscribe to my channel for future tutorial videos and like my video if you found it helpful. New videos are always being uploaded every week!
© 4DIYers 2013
All Rights Reserved
No part of this video or any of its contents may be reproduced, copied, modified or adapted, without the prior written consent of the author.